Building Unreal Engine From Source for VSCode
#9I spent a bit of time today compiling Unreal Engine from source using VSCode, and while the process was mostly straightforward, there were a few hiccups that took me a second to work around. This page aims to document a couple tricks to make this easier!
Note that using VSCode is generally the less-trodden path; if you’re alright with using Visual Studio Community Edition or have access to Visual Studio Professional (or even JetBrains Rider, my favorite Unreal IDE), those will typically be easier to set up. Alas, sometimes it’s hard to beat free-as-in-gratis-and-libre. :)
Versions #
The specific versions of Unreal and its dependencies that I used were as follows. Note that this guide is for Windows.
- Unreal Engine 5.4
- Visual Studio 2022 Build Tools
- Microsoft .NET SDK 8
- VSCode 1.92
It’s possible that this approach will also work with older or more recent versions of the engine and its dependencies, but your mileage may vary.
Setup #
Most of the steps listed here are just variations of the official Building Unreal Engine from Source docs. You’ll need to execute some commands via a terminal (e.g. PowerShell).
-
First, install the prerequisites. VS2022 Build Tools are needed to compile C++, and .NET SDK is needed to build UnrealBuildTool (among other things). I like to use winget for easy installation.
winget install Microsoft.VisualStudio.2022.BuildTools winget install Microsoft.DotNet.SDK.8 -
Next, go through the steps necessary to obtain access to the engine source, and download it with Git. This will take some time. Once it’s done,
cdinto the root of the repo. -
Run
Setup.batto initialize dependencies. This will also take some time. -
Run
GenerateProjectFiles.bat -vscode, which will generate aUE5.code-workspacefile. -
Open
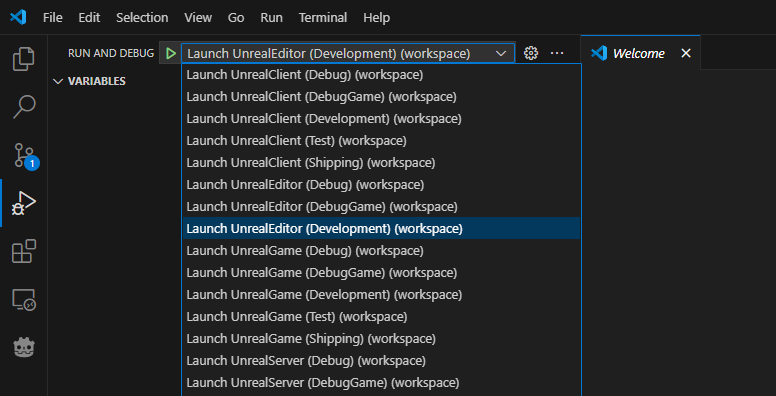
UE5.code-workspacein VSCode, switch to the “Run and Debug” menu, and select “Launch UnrealEditor (Development)” from the drop-down menu. Press Ctrl+F5 to begin compiling. This will take a long while.
-
After compilation finishes (hopefully successfully), Unreal’s project selection screen should be open. If you’ve already got an existing project, you can skip this step.
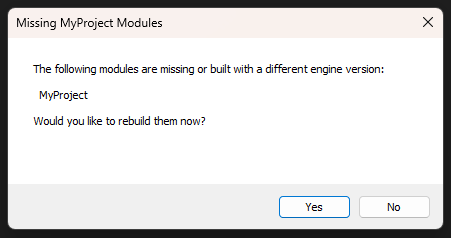
If not, at this point you can create a (presumably C++) project with whatever options you’d like. Once you click “Create”, Unreal will set up the project directory, and possibly close without reopening (this is ok). If you try to open the project right now, Unreal will complain about missing modules, which we’ll need to compile.

-
Next we need to generate the VSCode workspace for your project, using
GenerateProjectFiles.bat. From the engine directory, run:.\GenerateProjectFiles.bat -project="C:\Absolute\Path\To\MyProject.uproject" -game -engine -vscodeNote that the project path must be absolute. The flags
-gameand-engineinclude both game and engine source directories in the workspace, which is usually what you want. Finally,-vscodespecifies that we should generate VSCode project files1. -
Open the newly generated
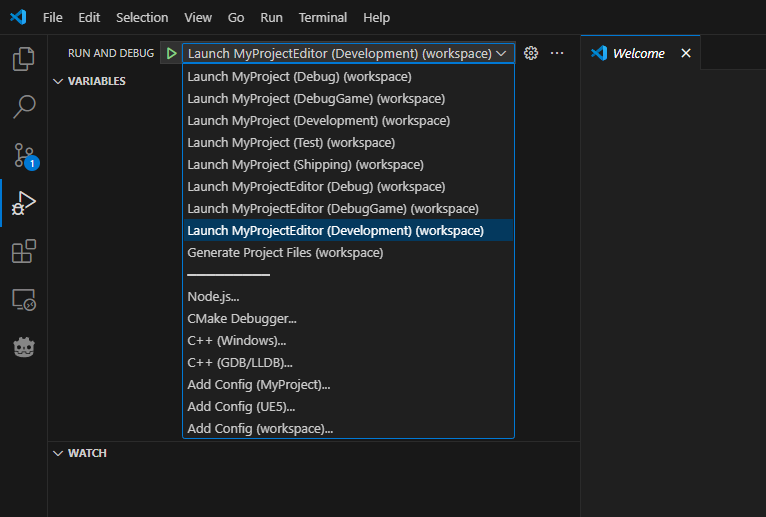
MyProject.code-workspacein VSCode, and this time select the “Launch MyProjectEditor (Development)” option (the specific name will depend on your project, but be sure to select the one that ends in Editor). Press Ctrl+F5 to compile and launch your project editor, after which you should be all set up and ready to edit C++!
-
Optionally (but recommended), you can switch Unreal’s default source editor under
Editor Preferences > General > Source Code > Source Code Editorto VSCode, which will cause Unreal to generate the right kind of project files both for new projects, and when using the “Generate Visual Studio project files” right-click menu in explorer. You may need to do this if you’ve added a new C++ file and are seeing red squigglies.
-
Other IDE flags exist as well, like
-rideror even-cmakefileand-makefile. ↩︎